Mastering Camera Settings for Documentary Filmmaking: Techniques for Visual Storytelling Success
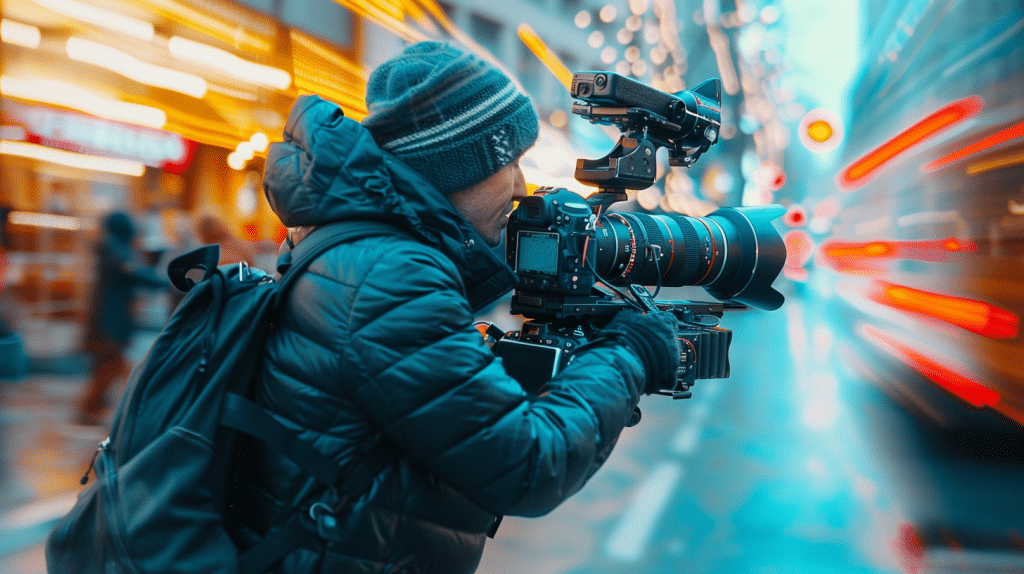
When delving into the world of documentary filmmaking, you’re faced with a myriad of camera settings to ponder. The right combination can truly elevate your storytelling to new heights.
From the artful manipulation of shutter speed to the nuanced dance of ISO settings and the delicate balance of aperture choices, each element contributes to the visual tapestry of your documentary.
But what about the often overlooked aspects—the ones that can make or break a scene with a single adjustment?
Let’s explore the intricate web of camera settings that can make your documentary truly shine.
Table of Contents
Understanding Shutter Speed
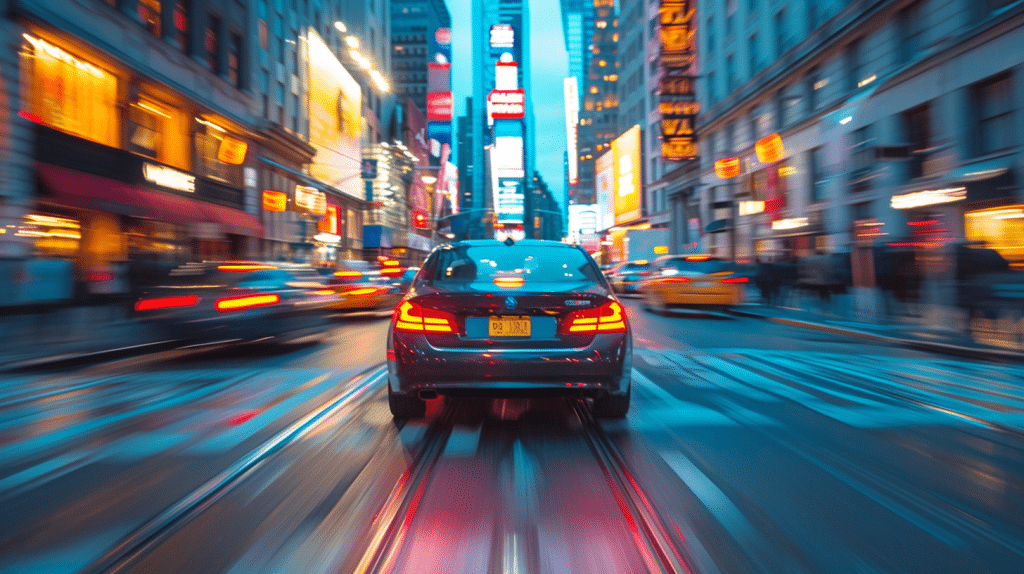
To capture compelling documentary footage, master the art of controlling your camera’s shutter speed.
Understanding how shutter speed works is essential in crafting visually stunning scenes. A fast shutter speed freezes motion with crisp clarity, making it ideal for capturing fast-paced action or wildlife. On the other hand, a slow shutter speed introduces motion blur, adding a sense of dynamism and fluidity to your shots.
Experimenting with different shutter speeds allows you to convey emotion and energy effectively in your documentary.
In fast-paced scenes where every moment counts, opt for a high shutter speed, like 1/500 or faster, to freeze action and maintain sharpness. Alternatively, in more serene settings where you want to emphasize movement or create a dreamy effect, try using a slower shutter speed, such as 1/30 or lower.
Remember, the key is to match the shutter speed to the mood and message you want to convey in your documentary.
Mastering shutter speed opens up a world of creative possibilities, enabling you to capture the essence of your subjects in a visually enchanting way.
Experiment, practice, and refine your skills to elevate the impact of your documentary filmmaking.
Mastering ISO Settings
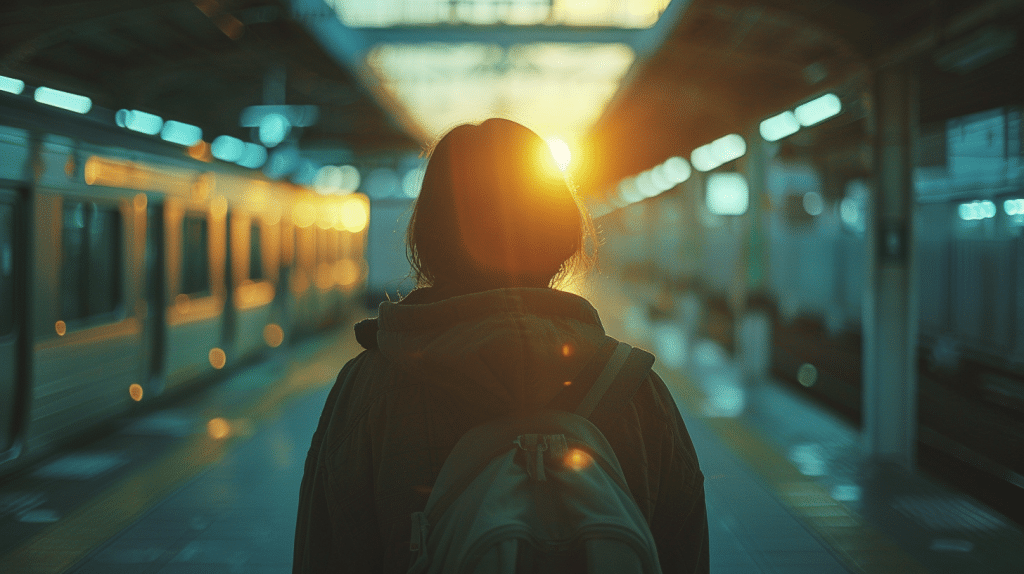
Discover the intricacies of mastering ISO settings to harness the full potential of your camera and elevate the visual quality of your documentary footage.
ISO determines your camera’s sensitivity to light. A lower ISO setting, like 100, is ideal for well-lit environments, producing sharp images with minimal noise.
In contrast, higher ISO settings, such as 800 or above, are suitable for low-light situations but may introduce grain or digital noise. When shooting in bright light, keep your ISO low to maintain image quality. However, in dimly lit scenes, increasing the ISO can help capture more light, but be mindful of noise levels.
Adjusting the ISO impacts exposure, so finding the right balance is important. Modern cameras handle higher ISO values better, but aim to keep it as low as possible to minimize noise. Experiment with different ISO settings to understand how they affect your footage and achieve the desired visual outcome.
Mastering ISO settings empowers you to adapt to various lighting conditions and enhance the overall look of your documentary.
Adjusting Aperture for Depth
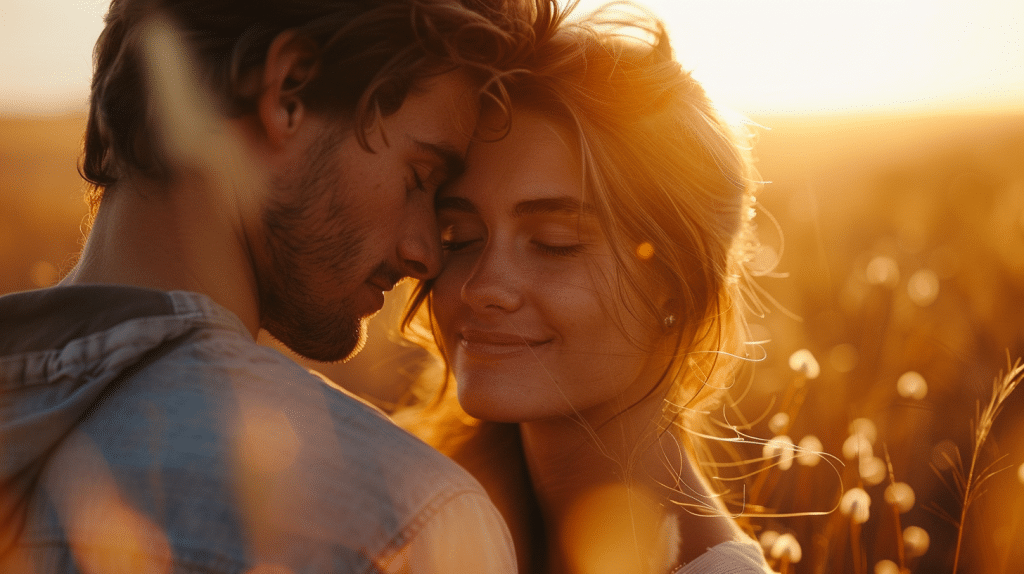
Adjusting the aperture setting on your camera allows you to control the depth of field in your documentary footage, shaping how sharp or blurred elements appear in your frame.
A wider aperture (lower f-stop number) creates a shallow depth of field, perfect for isolating subjects from the background, adding a cinematic touch. This setting works well for interviews or capturing intimate moments with a blurred background that enhances focus on the main subject.
On the other hand, a smaller aperture (higher f-stop number) increases the depth of field, keeping more elements in focus. This is ideal for wide shots where you want to showcase the environment or when filming landscapes to make sure everything from the foreground to the background is sharp and detailed.
Experimenting with different aperture settings can bring a dynamic visual dimension to your documentary, allowing you to convey emotions and storytelling through the selective focus of your shots.
White Balance for Natural Tones

Exploring the impact of white balance settings on your camera can enhance the natural tones in your documentary footage, creating a visually cohesive and realistic look.
To achieve the best results, consider the following:
- Daylight Setting: Use this setting when shooting outdoors in natural light to maintain accurate colors under the sun’s illumination.
- Tungsten Setting: Ideal for indoor shooting with tungsten lighting, this setting guarantees your footage doesn’t appear overly warm or orange.
- Custom White Balance: Take a manual white balance reading in the actual filming environment for precise color accuracy.
- Auto White Balance: While convenient, be cautious as it may not always provide the most accurate color representation.
- Fluorescent Setting: Choose this option when working under fluorescent lights to prevent a greenish tint in your footage.
Choosing the Right Frame Rate
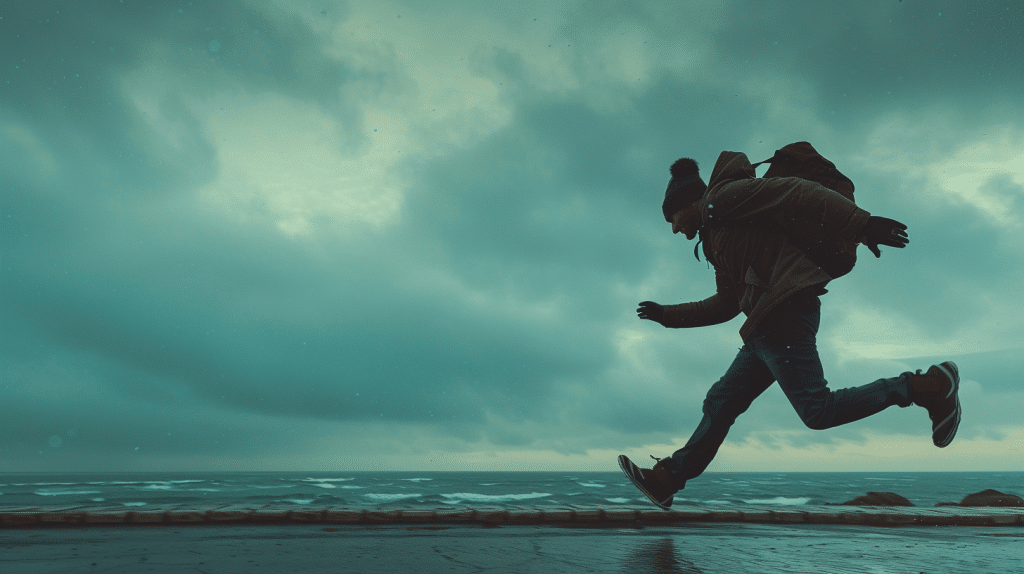
To capture dynamic movement and achieve a cinematic look in your documentary footage, select the appropriate frame rate that complements your storytelling style and visual goals.
Frame rate refers to the number of individual frames or images that are displayed per second in a video. The standard frame rates for filmmaking are 24fps (frames per second) and 30fps.
If you aim for a traditional cinematic feel, 24fps is a popular choice as it creates a more cinematic motion blur. This frame rate is ideal for capturing dramatic scenes or interviews. On the other hand, 30fps provides smoother motion and is commonly used for documentaries that involve a lot of movement or fast-paced action.
For scenes with a heightened sense of realism or slow-motion shots, higher frame rates like 60fps or 120fps can be utilized. These frame rates can add a unique visual impact to your footage, emphasizing details and creating a sense of time manipulation.
Experiment with different frame rates to enhance the visual storytelling in your documentary and evoke the desired emotions from your audience.
Utilizing Color Profiles
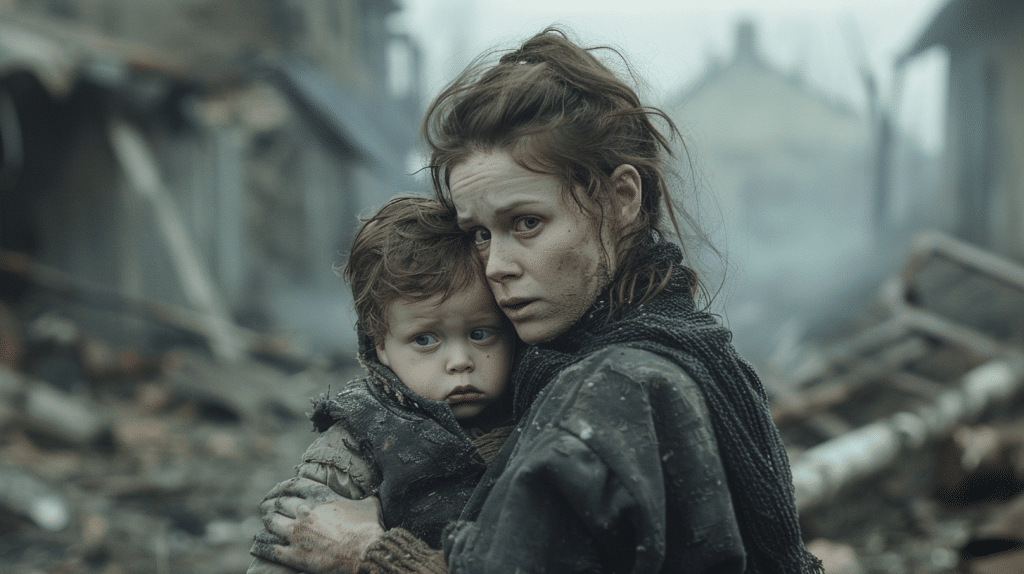
Enhancing the visual aesthetics of your documentary footage, color profiles play a significant role in setting the tone and mood of your film.
Utilize the following tips to make the most of color profiles:
- Understand Your Camera’s Color Profiles: Each camera comes with its own set of color profiles, such as Standard, Neutral, or Log. Experiment with these profiles to find the one that best suits your documentary’s style.
- Customize Your Color Profile Settings: Adjust settings like contrast, saturation, and sharpness within a color profile to fine-tune the look of your footage.
- Consider the Mood You Want to Convey: Different color profiles evoke different emotions. For example, a desaturated look might convey a sense of melancholy, while vibrant colors can create a lively atmosphere.
- Maintain Consistency Across Footage: Stick to one color profile throughout your documentary to guarantee a cohesive look and feel.
- Use Color Grading Techniques: Enhance your color profiles further through post-production color grading to achieve a polished and professional final product.
Exploring Focus Techniques
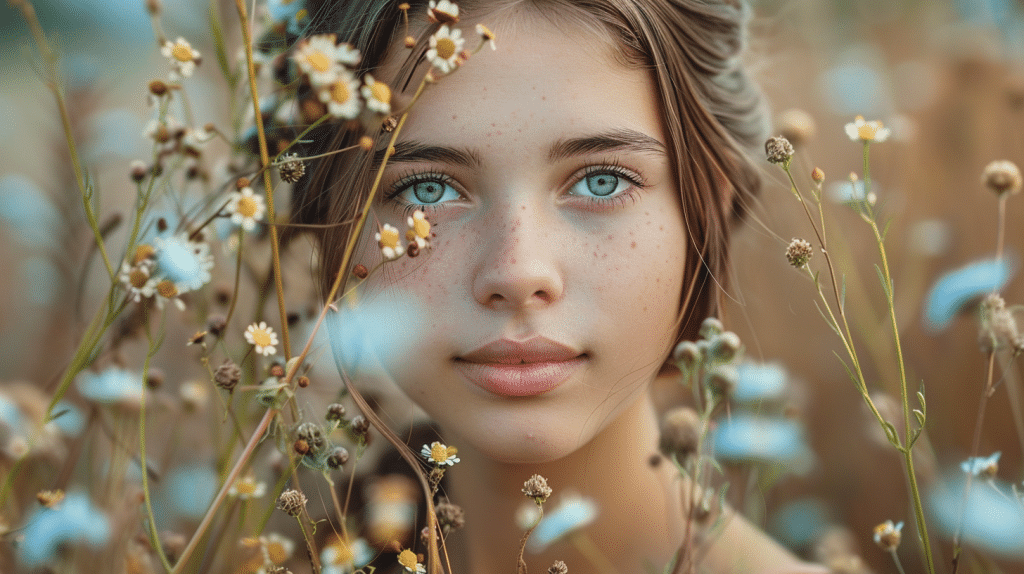
For a compelling visual narrative in your documentary film, masterful control over focus techniques is essential.
Achieving precise focus can greatly enhance the storytelling aspect of your project.
One effective technique is rack focusing, where you shift the focus from one subject to another within the same shot. This method can create a dynamic and engaging visual experience for your audience.
Another vital focus technique is using shallow depth of field to isolate your subject from the background. By keeping your subject sharp while blurring the background, you draw the viewer’s attention directly to the focal point of your scene. This technique adds depth and visual interest to your shots, making them more visually appealing.
Additionally, manual focus gives you complete control over what elements are sharp in your frame. By adjusting the focus ring yourself, you can make sure that the most important parts of your scene are crystal clear.
Mastering these focus techniques will elevate the quality of your documentary filmmaking and captivate your audience with visually stunning storytelling.
Importance of Audio Settings
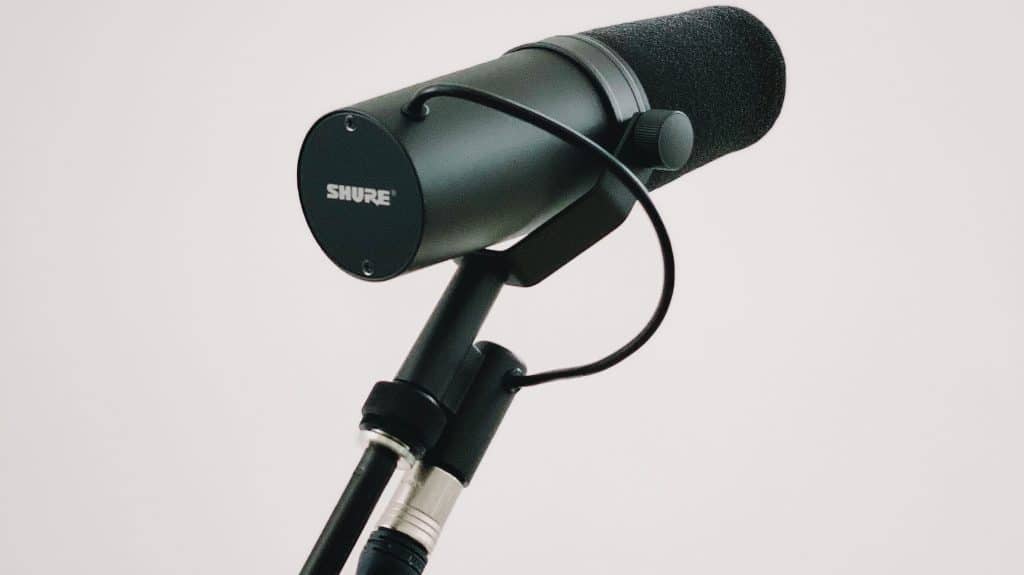
Mastering the intricacies of audio settings is essential for achieving professional sound quality in your documentary film.
When it comes to capturing audio, each setting plays a vital role in ensuring clear and crisp sound that enhances the overall viewing experience.
Here are some key points to keep in mind:
- Microphone Selection: Choose the right microphone based on your filming environment to capture the best audio quality.
- Input Levels: Adjust input levels carefully to prevent distortion or background noise from overshadowing the main audio.
- Wind Protection: Utilize wind protection tools like foam windscreens or blimps to minimize unwanted wind noise interference.
- Room Acoustics: Be mindful of the acoustics of your filming location as it can impact the overall sound quality of your footage.
- Monitoring: Regularly monitor audio levels during filming to catch any issues early on and make necessary adjustments for excellent sound quality.
Balancing Natural and Artificial Light
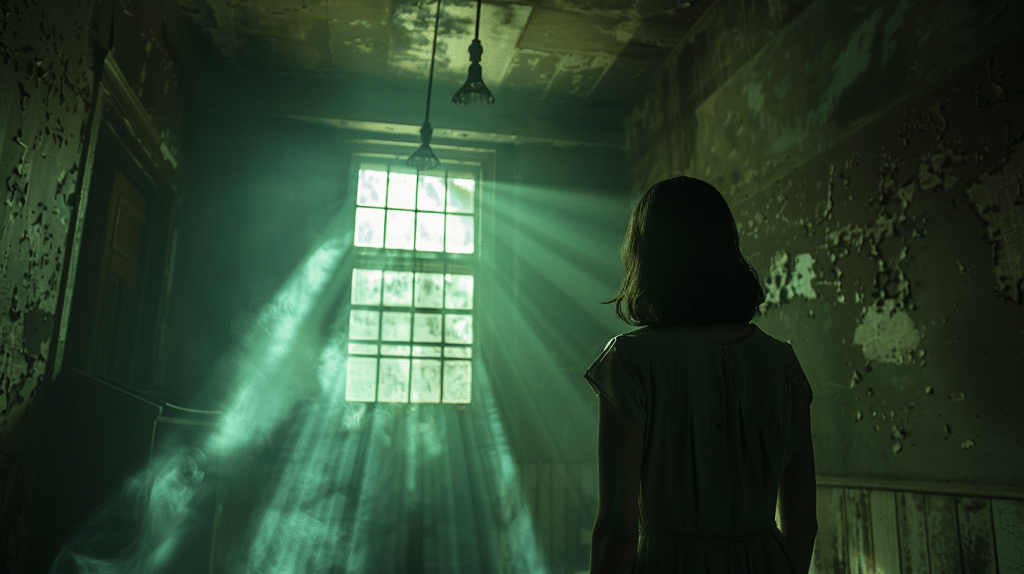
To achieve mesmerizing brilliance in your documentary film, skillfully balance the interplay between natural and artificial light sources.
Natural light can provide a soft, authentic ambiance to your shots, while artificial light allows for control and consistency. When blending these lighting sources, consider the color temperature and intensity to create a harmonious visual story.
Utilize natural light to establish the mood and atmosphere of a scene, enhancing its emotional impact on your audience. Then, supplement with artificial light to fill in shadows or add emphasis where needed, ensuring clarity and focus on your subjects.
Experiment with different light angles and diffusion techniques to achieve a captivating visual composition.
For outdoor shots, leverage the sun’s position to create dynamic shadows and highlights, adding depth to your imagery.
Indoors, strategically place artificial lights to mimic natural lighting patterns, providing a sense of continuity throughout your film.
Essential Accessories for Filming
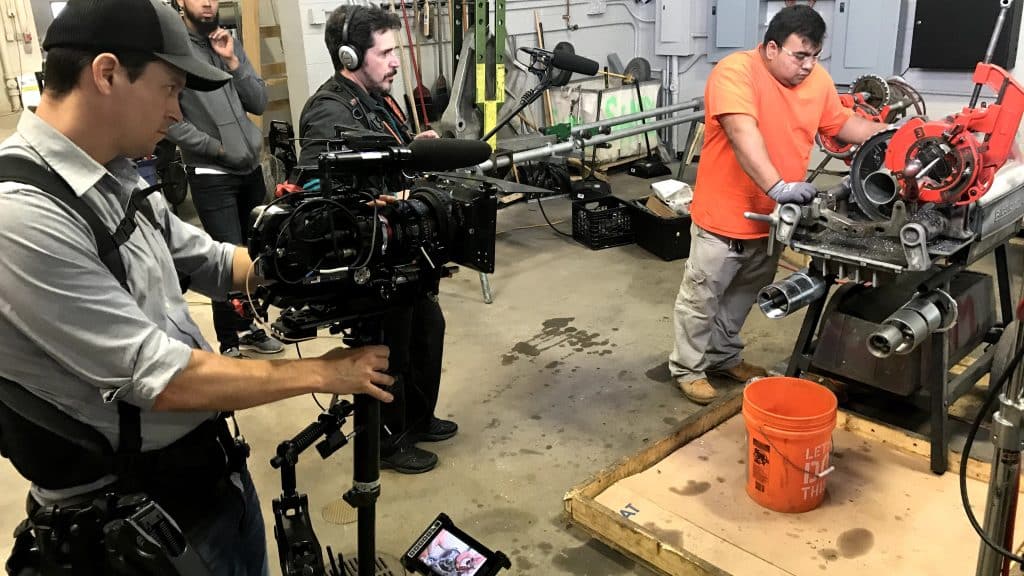
Blend your lighting expertise with essential accessories that enhance your filming capabilities and elevate the visual impact of your documentary.
Consider these key accessories to take your filmmaking to the next level:
- External Microphone: Capture crisp, clear audio even in noisy environments, ensuring your audience can fully immerse themselves in the story.
- Stabilizer: Smooth out shaky footage and achieve professional-looking shots by investing in a quality stabilizer for your camera.
- Variable ND Filter: Adjust your exposure levels on the fly without compromising your shutter speed or aperture settings, giving you more creative control over your shots.
- Lens Hood: Prevent lens flares and unwanted glare from ruining your footage by using a lens hood to shield your lens from stray light.
- Camera Bag: Keep your gear organized, safe, and easily accessible with a durable camera bag designed to withstand the demands of documentary filmmaking.
These accessories are essential tools that can greatly enhance the quality of your footage, making your documentary more visually compelling and engaging for your audience.
Frequently Asked Questions
How does shutter speed affect documentary footage?
Shutter speed plays a crucial role in determining how motion is captured in your footage.
A fast shutter speed, such as 1/500 or faster, is ideal for freezing action, making it perfect for capturing fast-paced scenes or wildlife.
Conversely, a slower shutter speed, like 1/30 or lower, introduces motion blur, which can add a sense of dynamism and fluidity to your shots.
By experimenting with different shutter speeds, you can convey different emotions and energy levels, matching the visual style to the mood of your documentary.
Mastering shutter speed enables you to capture the essence of your subjects in a visually compelling way.
What is the importance of ISO settings in documentary filmmaking?
ISO settings determine your camera’s sensitivity to light, playing a vital role in the exposure and noise levels of your footage.
A lower ISO, such as 100, is ideal for well-lit environments, producing sharp images with minimal noise.
Higher ISO settings, like 800 or above, are suitable for low-light situations but may introduce grain or digital noise.
Modern cameras handle higher ISO values better, but it’s essential to keep ISO as low as possible to maintain image quality.
Understanding and mastering ISO settings allows you to adapt to various lighting conditions, ensuring your documentary footage remains visually appealing and high-quality.
How does adjusting aperture impact documentary footage?
Aperture controls the depth of field in your footage, influencing how sharp or blurred elements appear in the frame.
A wider aperture (lower f-stop number) creates a shallow depth of field, ideal for isolating subjects from the background and adding a cinematic touch. This setting is perfect for interviews or intimate moments where focus on the subject is crucial.
Conversely, a smaller aperture (higher f-stop number) increases depth of field, keeping more elements in focus, which is excellent for wide shots and landscapes.
Experimenting with aperture settings can add a dynamic visual dimension to your documentary, enhancing the emotional and storytelling aspects through selective focus.
What role does white balance play in achieving natural tones in documentary footage?
White balance ensures that the colors in your footage appear natural and consistent under different lighting conditions.
Settings like Daylight, Tungsten, Fluorescent, and Auto White Balance help match the camera’s color sensitivity to the light source.
Using the correct white balance setting prevents unnatural color casts, such as orange tones indoors or greenish hues under fluorescent lights.
Custom white balance allows for precise color accuracy by manually calibrating to the shooting environment.
By mastering white balance, you can enhance the visual cohesion and realism of your documentary, making your footage more visually appealing and true to life.
Why is understanding frame rates important in documentary filmmaking?
Frame rate refers to the number of individual frames displayed per second in a video, significantly impacting the motion portrayal and cinematic feel of your footage.
Standard frame rates like 24fps create a traditional cinematic motion blur, ideal for dramatic scenes and interviews.
In contrast, 30fps offers smoother motion, suitable for action-packed documentaries. Higher frame rates, such as 60fps or 120fps, are used for slow-motion effects, adding a unique visual impact and emphasizing details.
Selecting the appropriate frame rate based on your storytelling style and visual goals can enhance the narrative, making your documentary more engaging and emotionally resonant.
Share:
Search our blog:
Follow us on:
