Beginner’s Guide to Post-Production | Essential Techniques & Tips

When starting on the journey of post-production, you may not realize the intricate process involved in shaping raw footage into a polished visual narrative.
As a beginner, grasping the fundamentals of video editing, color correction, and sound design can be a game-changer for your projects. However, there are key aspects, like selecting the right editing software and mastering essential skills, that can make or break the final outcome of your videos.
Stay tuned to uncover the pivotal steps that will set you on the right path towards elevating your video production game in this guide to post-production.
Table of Contents
Understanding Post-Production Basics
If you’re new to post-production, understanding the basics is essential for creating polished final products.
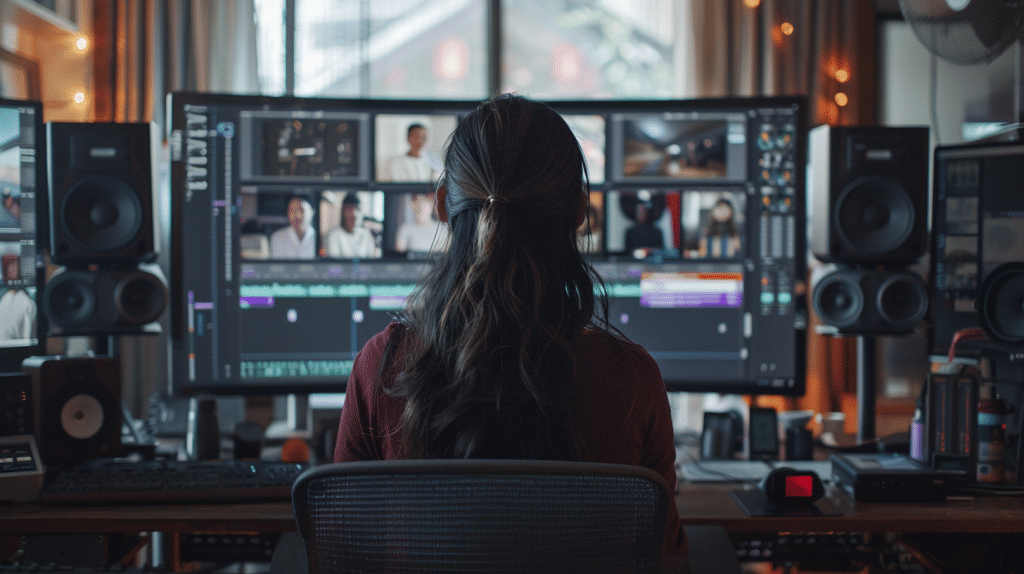
Post-production is where the magic happens, transforming raw footage into a cohesive and engaging visual story. One key element is video editing, where you piece together different shots to craft a narrative. This process involves trimming clips, adjusting connections, adding effects, and fine-tuning the overall visual flow.
Color correction is another vital aspect of post-production. It involves adjusting the colors and tones of your footage to create a consistent look throughout your video. Proper color correction can enhance the mood of your video and make it more visually appealing.
Sound design is equally important, as it helps to create a rich and immersive auditory experience for your audience. This includes adding music, sound effects, and ensuring that the audio levels are balanced.
Understanding these basics will set a strong foundation for your post-production journey and help you create professional-looking videos that captivate your audience.
Selecting the Right Editing Software
When selecting the right editing software for your post-production needs, consider the specific features and tools that will best suit your editing style and workflow.
Look for software that offers a user-friendly interface, as this will make your editing process smoother and more efficient. Different editing software comes with various capabilities, so think about what aspects of editing are most important to you.
For beginners, software with basic editing functions and tutorials can be helpful in getting started.
Consider the compatibility of the software with your computer system and the formats you work with. Some software may be better suited for handling high-resolution footage or specific file types.
Additionally, check if the software offers the ability to add effects, enhancements, and audio enhancements easily.
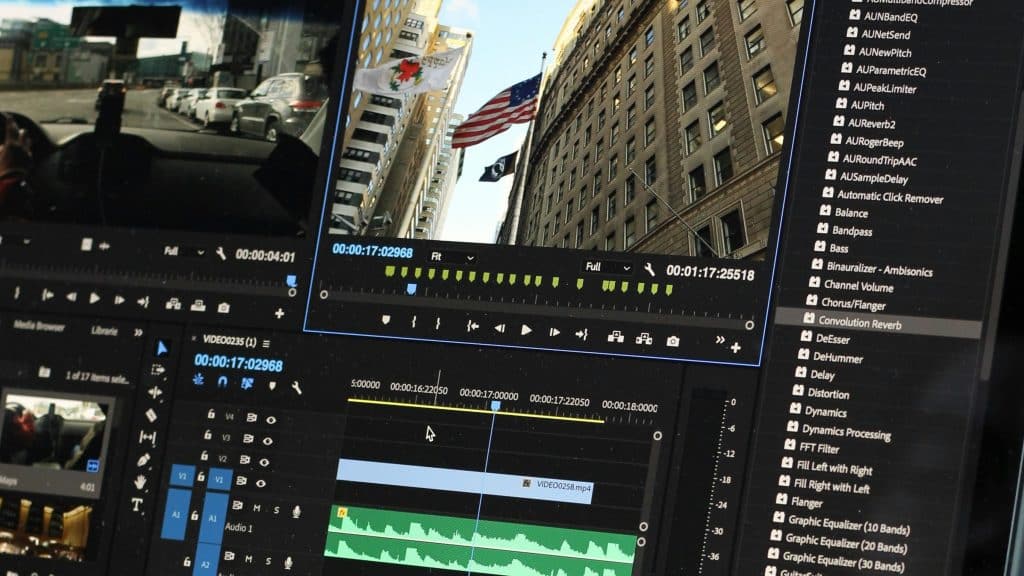
Popular editing software options include Adobe Premiere Pro, Final Cut Pro, and DaVinci Resolve. Take advantage of free trials to test out different software and see which one aligns best with your editing preferences.
Remember, the right editing software can have a significant impact on your post-production workflow and the overall quality of your final product.

Mastering Audio and Video Editing
To excel in audio and video editing, hone your skills in manipulating sound and visuals to create a seamless and engaging final product.
When editing audio, pay attention to details like background noise, volume levels, and shifts between clips. Use tools such as equalizers, compressors, and noise reduction filters to enhance the audio quality. Experiment with different effects and techniques to achieve the desired mood or tone in your project.
In video editing, focus on creating smooth changes, precise cuts, and visual storytelling. Utilize techniques like color grading to enhance the overall look and feel of your footage.
Pay attention to pacing and rhythm to keep the audience engaged throughout the video. Make sure that the audio and video elements complement each other to deliver a cohesive viewing experience.
Practice is key to mastering audio and video editing. The more you work on different projects, the more familiar you’ll become with the tools and techniques available.
Don’t be afraid to experiment and push the boundaries of your creativity to achieve professional-looking results.
Incorporating Visual Effects and Graphics

Enhance your video projects by seamlessly integrating compelling visual effects and dynamic graphics.
Visual effects can add depth and excitement to your videos, making them more engaging for your audience. Start by choosing effects that complement the tone and message of your video.
Whether it’s adding explosions for an action sequence or subtle color grading for a dramatic effect, the key is to enhance without overpowering the main content.
Graphics play an important role in conveying information efficiently.
Use text overlays, lower thirds, and animated graphics to emphasize key points or provide context to your viewers. When incorporating graphics, make sure they’re clear, legible, and enhance the overall visual appeal of your video.
Experiment with different effects and graphics to find the perfect balance that elevates your video production.
Remember, less is often more when it comes to visual effects, so aim for a polished look that enhances your content without overshadowing it.
Importance of Backing Up Footage

Regularly backing up your footage is a fundamental practice in post-production to safeguard against potential data loss during the editing process.
By importing footage from your camera and copying it to an external hard drive, you create a crucial safety net.
Setting up automatic backups for your internal drive and keeping an additional copy on your camera further strengthens your data protection strategy.
This collaborative effort between different storage mediums guarantees that your precious footage remains intact and accessible throughout the editing journey.
Exporting and Sharing Your Final Product
Consider utilizing various export settings to optimize the quality and file size of your final video before sharing it across different platforms.
When exporting your video, choose the appropriate file format based on where you intend to share it.
For social media platforms like Instagram or Facebook, MP4 is a popular choice due to its compatibility and relatively small file size. If you’re aiming for higher quality, consider formats like MOV or AVI.
Adjust the resolution to match the platform’s requirements; for example, YouTube supports resolutions up to 4K.
Pay attention to the bitrate settings as well – a higher bitrate typically results in better quality but larger file sizes. Additionally, make sure your audio settings are optimized for clarity. Before finalizing the export, preview the video to catch any last-minute issues.
Once exported, consider using cloud storage or a USB drive for easy sharing with collaborators or clients.
By tailoring your export settings to the platform and audience, you can make certain your final product looks its best wherever it’s viewed.
Share:
Search our blog:
Follow us on:
